AMICK ROLLAERATOR The #1 Lawn Aerator Machine
The AMICK ROLLAERATOR is great for golf courses and commercial landscapes!
ASSEMBLY INSTRUCTIONS
AMICK ROLLAERATOR FINAL ASSEMBLY INSTRUCTIONS (4.25)
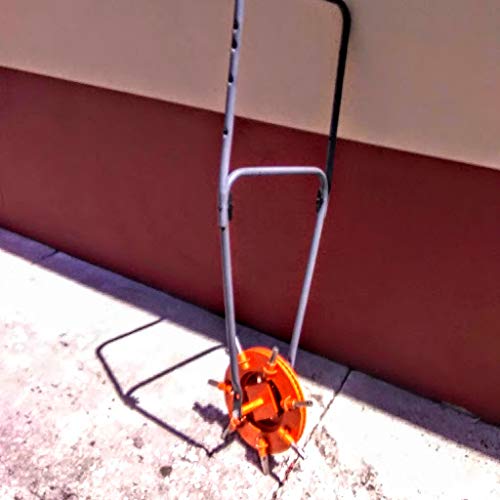
Remove contents of the box. There will be 2 disks and a cardboard packet containing 2 steel plates. One disk has tines mounted to it, the other none.Tines are held in place by ubolts and shipped in reverse direction so to fit in the box. Loosen the two nuts securing a ubolt and the tine comes out. Turn the tine around so the small beveled end extends outward from the disk. Leave the tray (half pipe) in it’s original place and position the tine to extend approximately 2 inches out from the edge of the disk. It can be mounted from 1-1/2 inches to 2-1/2 inches out from the disk. Tighten nuts securely after positioning the tines. A spare ubolt is sent in case one breaks.After tines are positioned, obtain a short piece of 2×4 and place flat on the workbench. Stand the tine disk vertically on the board with 2 tines straddling the board. Next stand the other disk next to the tine disk. Get a helper to hold it still. Poke the axle bolt through the large middle holes and put a steel plate on each end of the axle followed by a nut on each end of the axle. Finger tighten the nuts so there is 1/2 inch of axle extending past the nuts each side. Tap the axle one way or other to center it as closely as possible then tighten nuts very tight making sure 1/2 inch of axle extends past the nuts on either side when tightened. Disk assembly is complete.Attach the handlebar and tighten the coupler nuts firmly to the disk axle studs. Spray some grease on the axles inside the handlebar pipes to lube the axles. Now you can aerate the lawn. When finished aerating, use a dowle to tap out the dirt from inside the tines to prevent rusting. Enjoy your machine. It should last a lifetime.Thanks again for ordering an AMICK. ROLLAERATOR.com

STEP 1
DoubleDisk RollAerator
and
Convertible DoubleDisk RollAerator
DOUBLE-DISK
Starting with the tine carrying disk. Loosen the small u-bolt nuts securing the tines and remove the tines, then replace them in aerating position. Each tine has a Locator Notch etched on the side and must be positioned under the loop before re-tightening. Tighten nuts down so there is no tine wiggle. No tines will come loose and be lost if the loop is squarely seated in the locator notch when tightened.
When all tines are tightly in place…
The New Clamshell Doubledisk 2023 configuration comes fully built and can be set up as a single disk, (one row of holes, easiest to push)..or as a double disk, (two rows of holes). You decide which way by…attach tines to one disk and see how it does..if it’s punching full depth then you attach tines to the other disk. Harder ground usually u stay in single row mode. Tine depth is variable but start at 2″ deep. Each tine has a mark on it to indicate two inches deep.
Doubledisk Clamshell version final assembly Parts:
Final Assembly of the ‘New for 23’ Amick DoubleDisk RollAerator (two rows of holes)..And SingleDisk RollAerator (one row of holes)

STEP 2
The axle. Screw one of the 1/2″ nuts onto the axle so 34″ shows past the nut. Poke that end into the wood block and stand it up on the bench. Slide on one of the steel plates. Place the tine carrying disk on top of the steel plate with the tines upside and centered on the axle. Place the auxiliary disk on top of the tine disk with the “hat” upside. Slide the other steel plate on the axle. Screw on the other 12″ nut. Center everything up and snug down the top nut. Hold the disk assembly in a vertical position. Using two 34″ wrenches or equivalent, one on each end of the axle, very firmly torque down the nuts. Held vertical gives you the best leverage. When tightened, 34″ of axle will show past the nuts on both sides of the disk.
With the disk assembled…
Simple instructions for using mower bars….
Mower bars are usually segmented…two halves that bend in the middle…squeeze together the ends that attache to the mower to the width of the disk 12″… straighten the 2 tabs at the bottom parallel…use round file or drill to bore the tab holes to 1/2 inch wide…install provided disk attachment bolts and attach to the disk. Grease the axles each use… Mike amick

STEP 3
CONVERTIBLE DOUBLE-DISK
When all tines are in place…
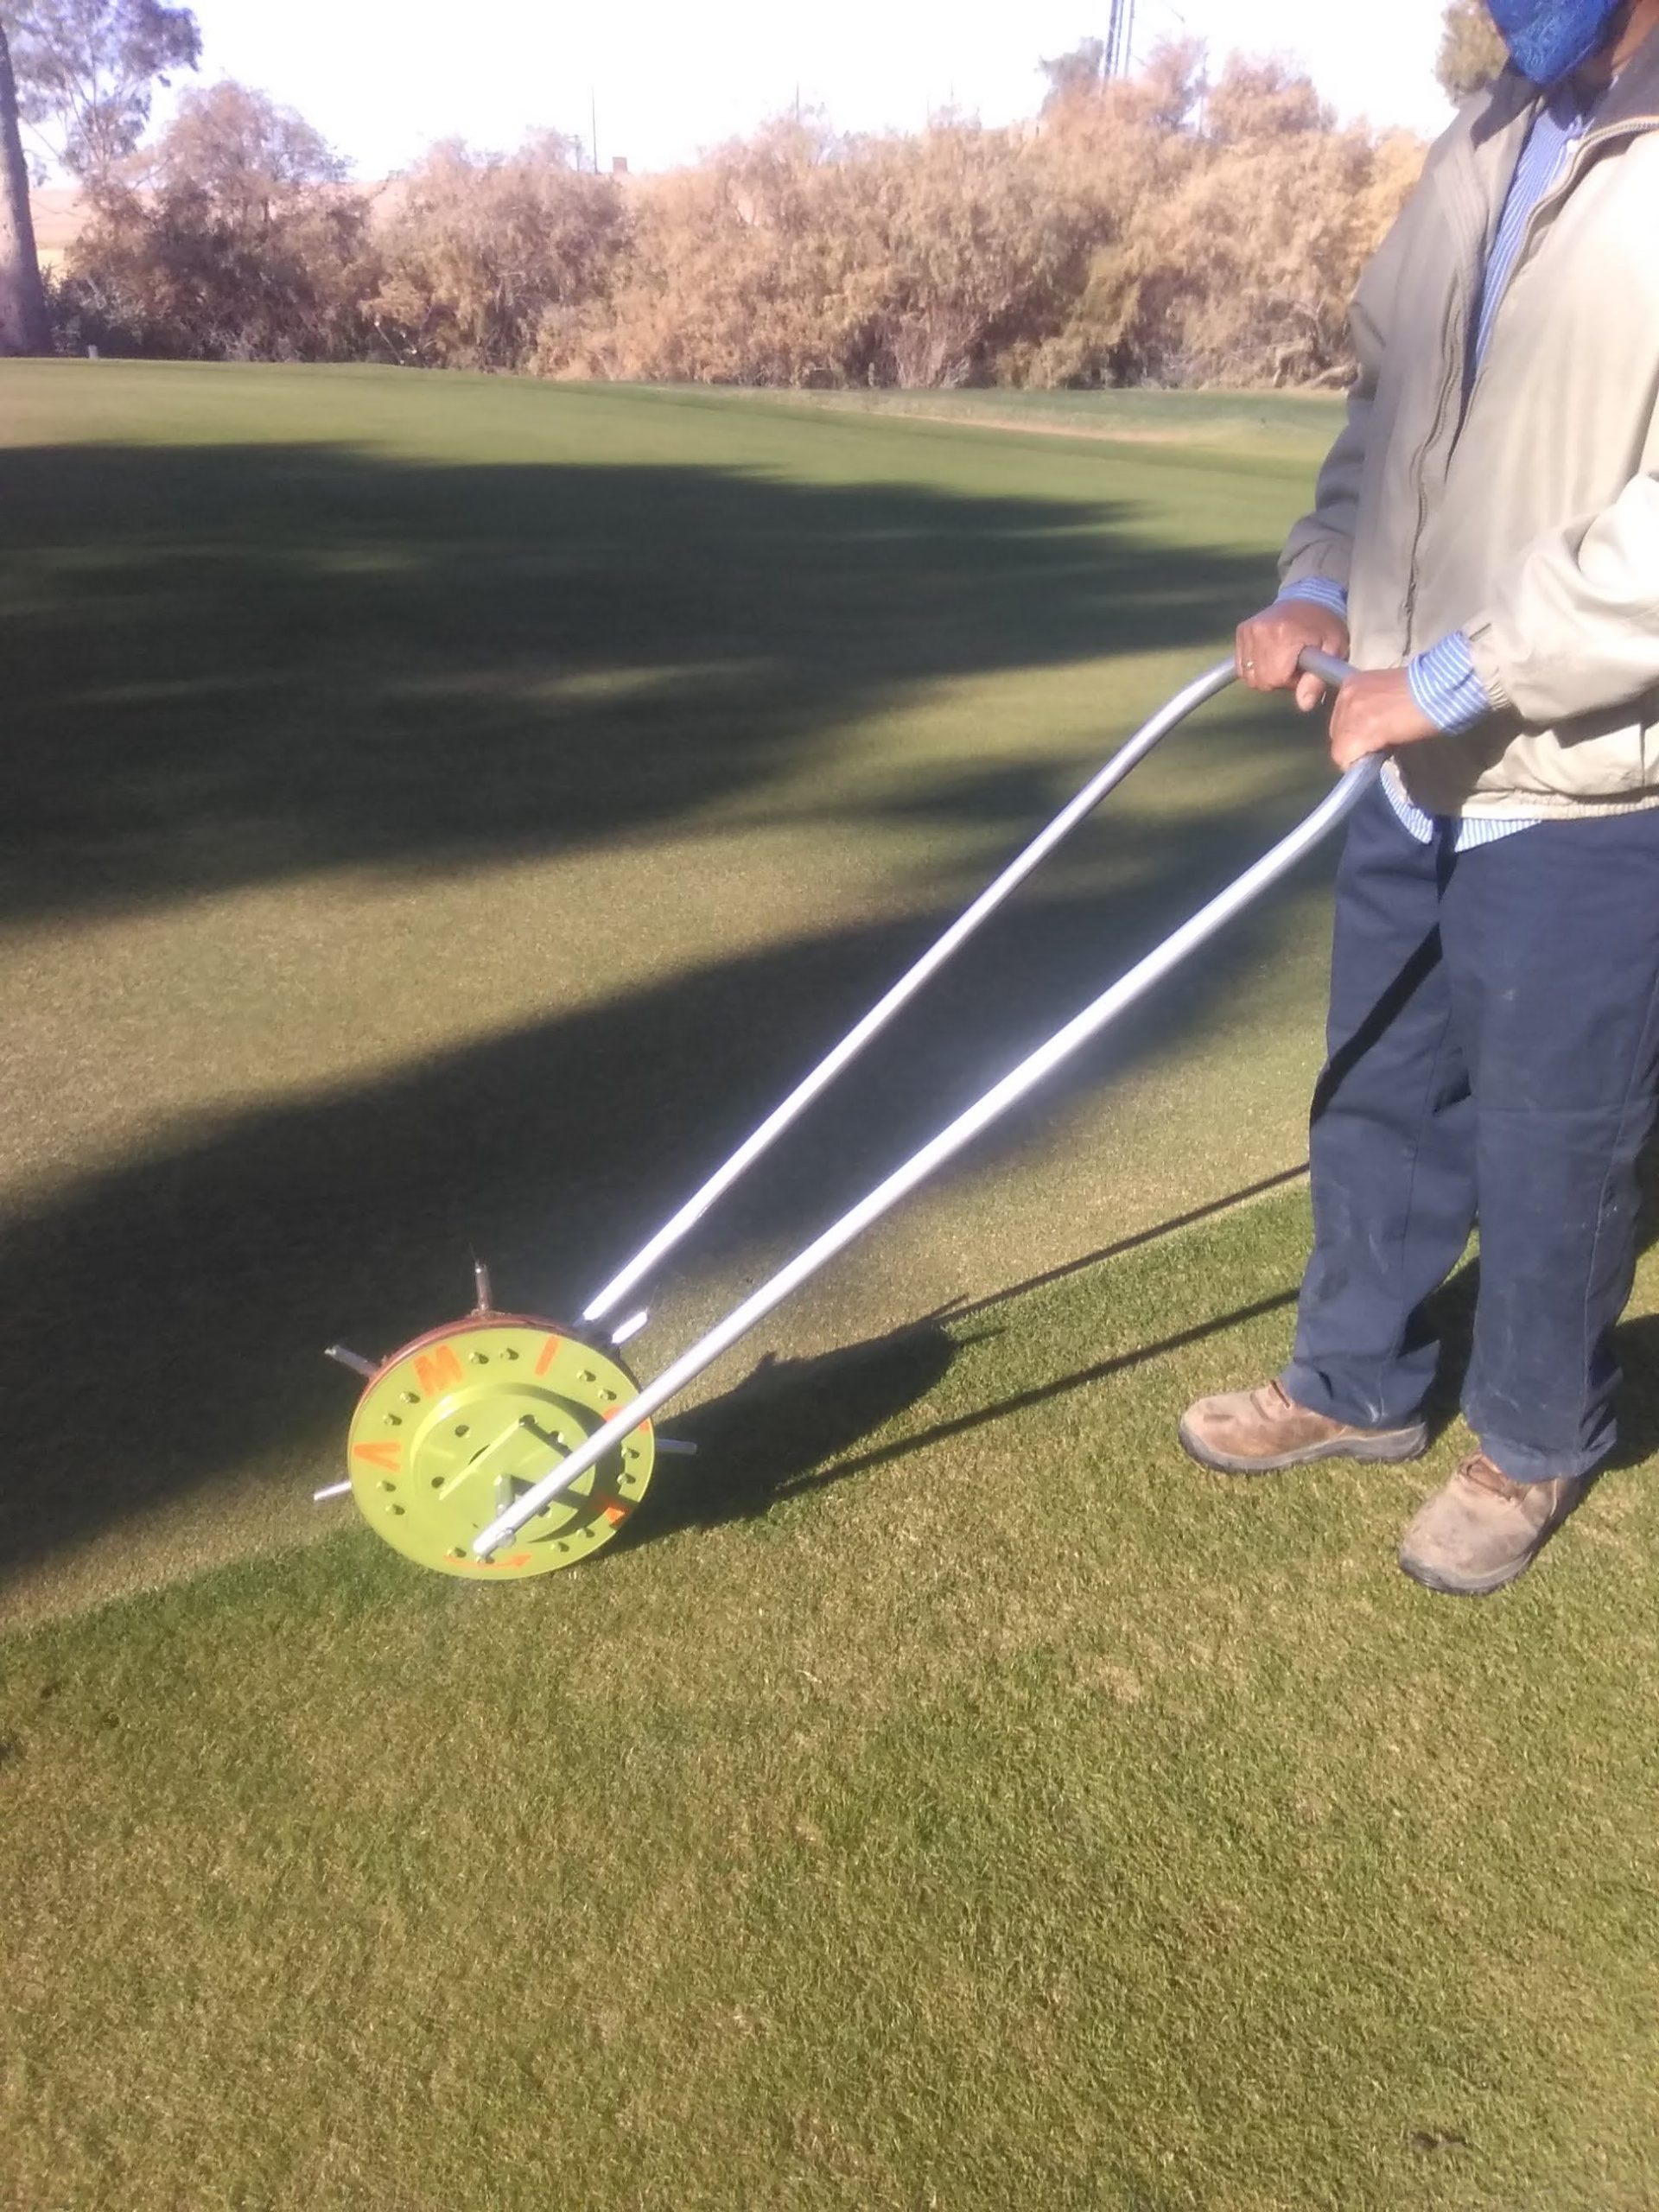
The disk is now ready for single-disc use. Just screw on the handlebars and go.
To make it a DoubleDisk.. Use the wood block to hold the disk horizontally with the tines upside. Screw the short auxiliary axle onto the axle stud. Lay the auxiliary disc on top of the tine disk with the “hat” upside. Slide on the steel plate. Screw on the 12″ nut. Center all and tighten the nut very hard. This will leave 34″ of axle showing past the nuts on both sides of the disk. Screw on the handlebars and tighten firmly.
Any questions please message or call the number on the website…
RollAerator.com
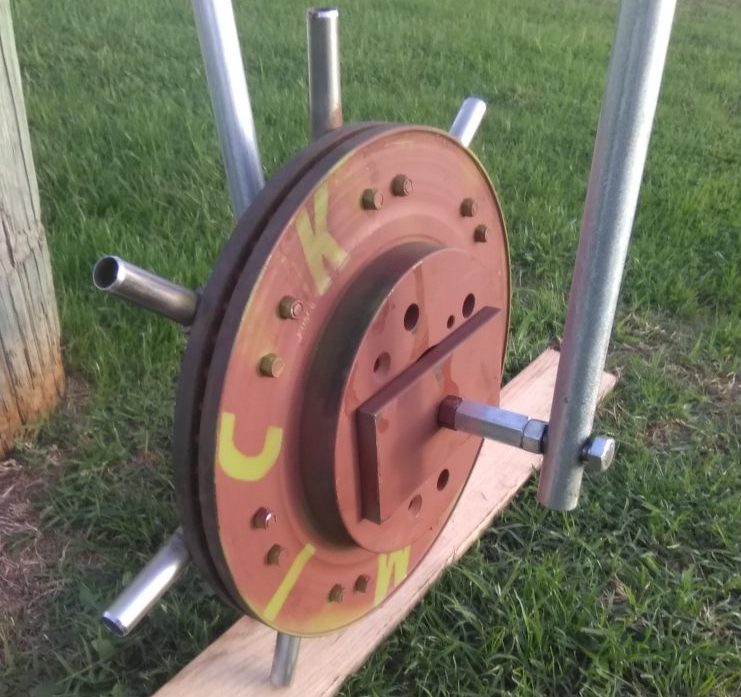
SINGLE DISK ROLLAERATOR
Lawncare
Maintenance
Landscaping
Residential
Golf Courses
Gardeners
Aeriation
Commercial

About ROLLAERATOR
I’m talking about Lawn Aeration and your very own ROTORAERATOR lawn aerator.
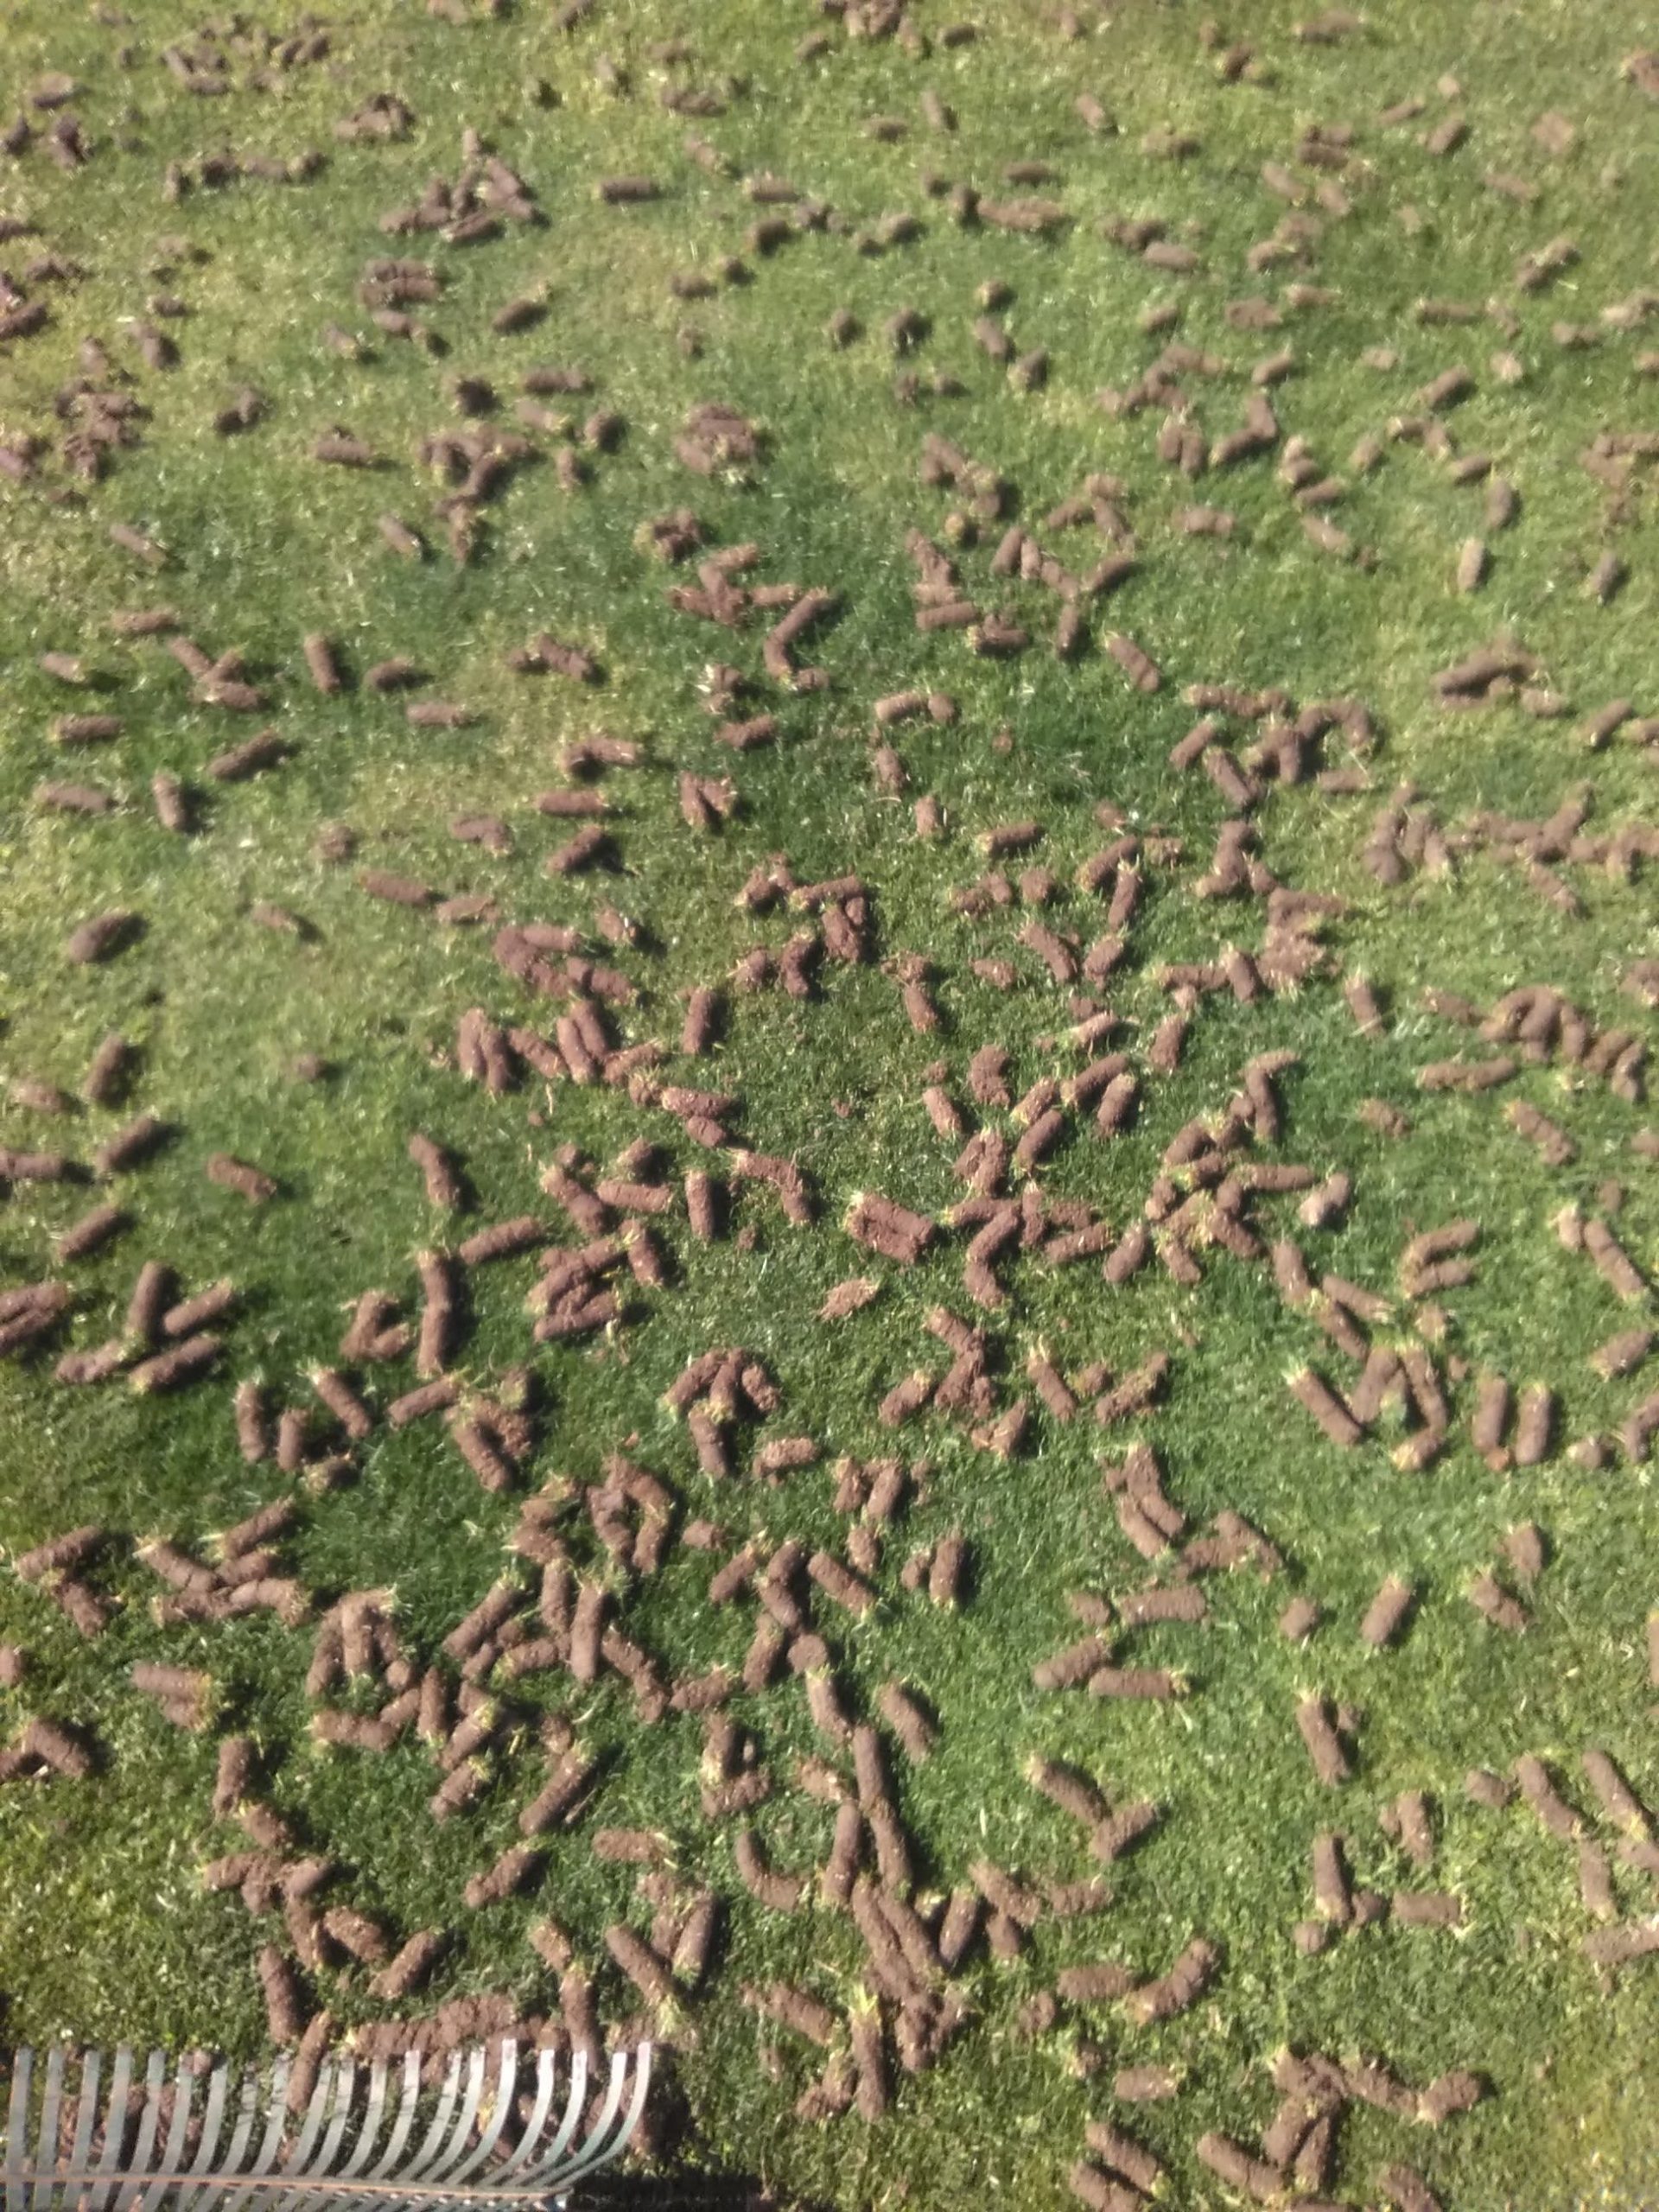
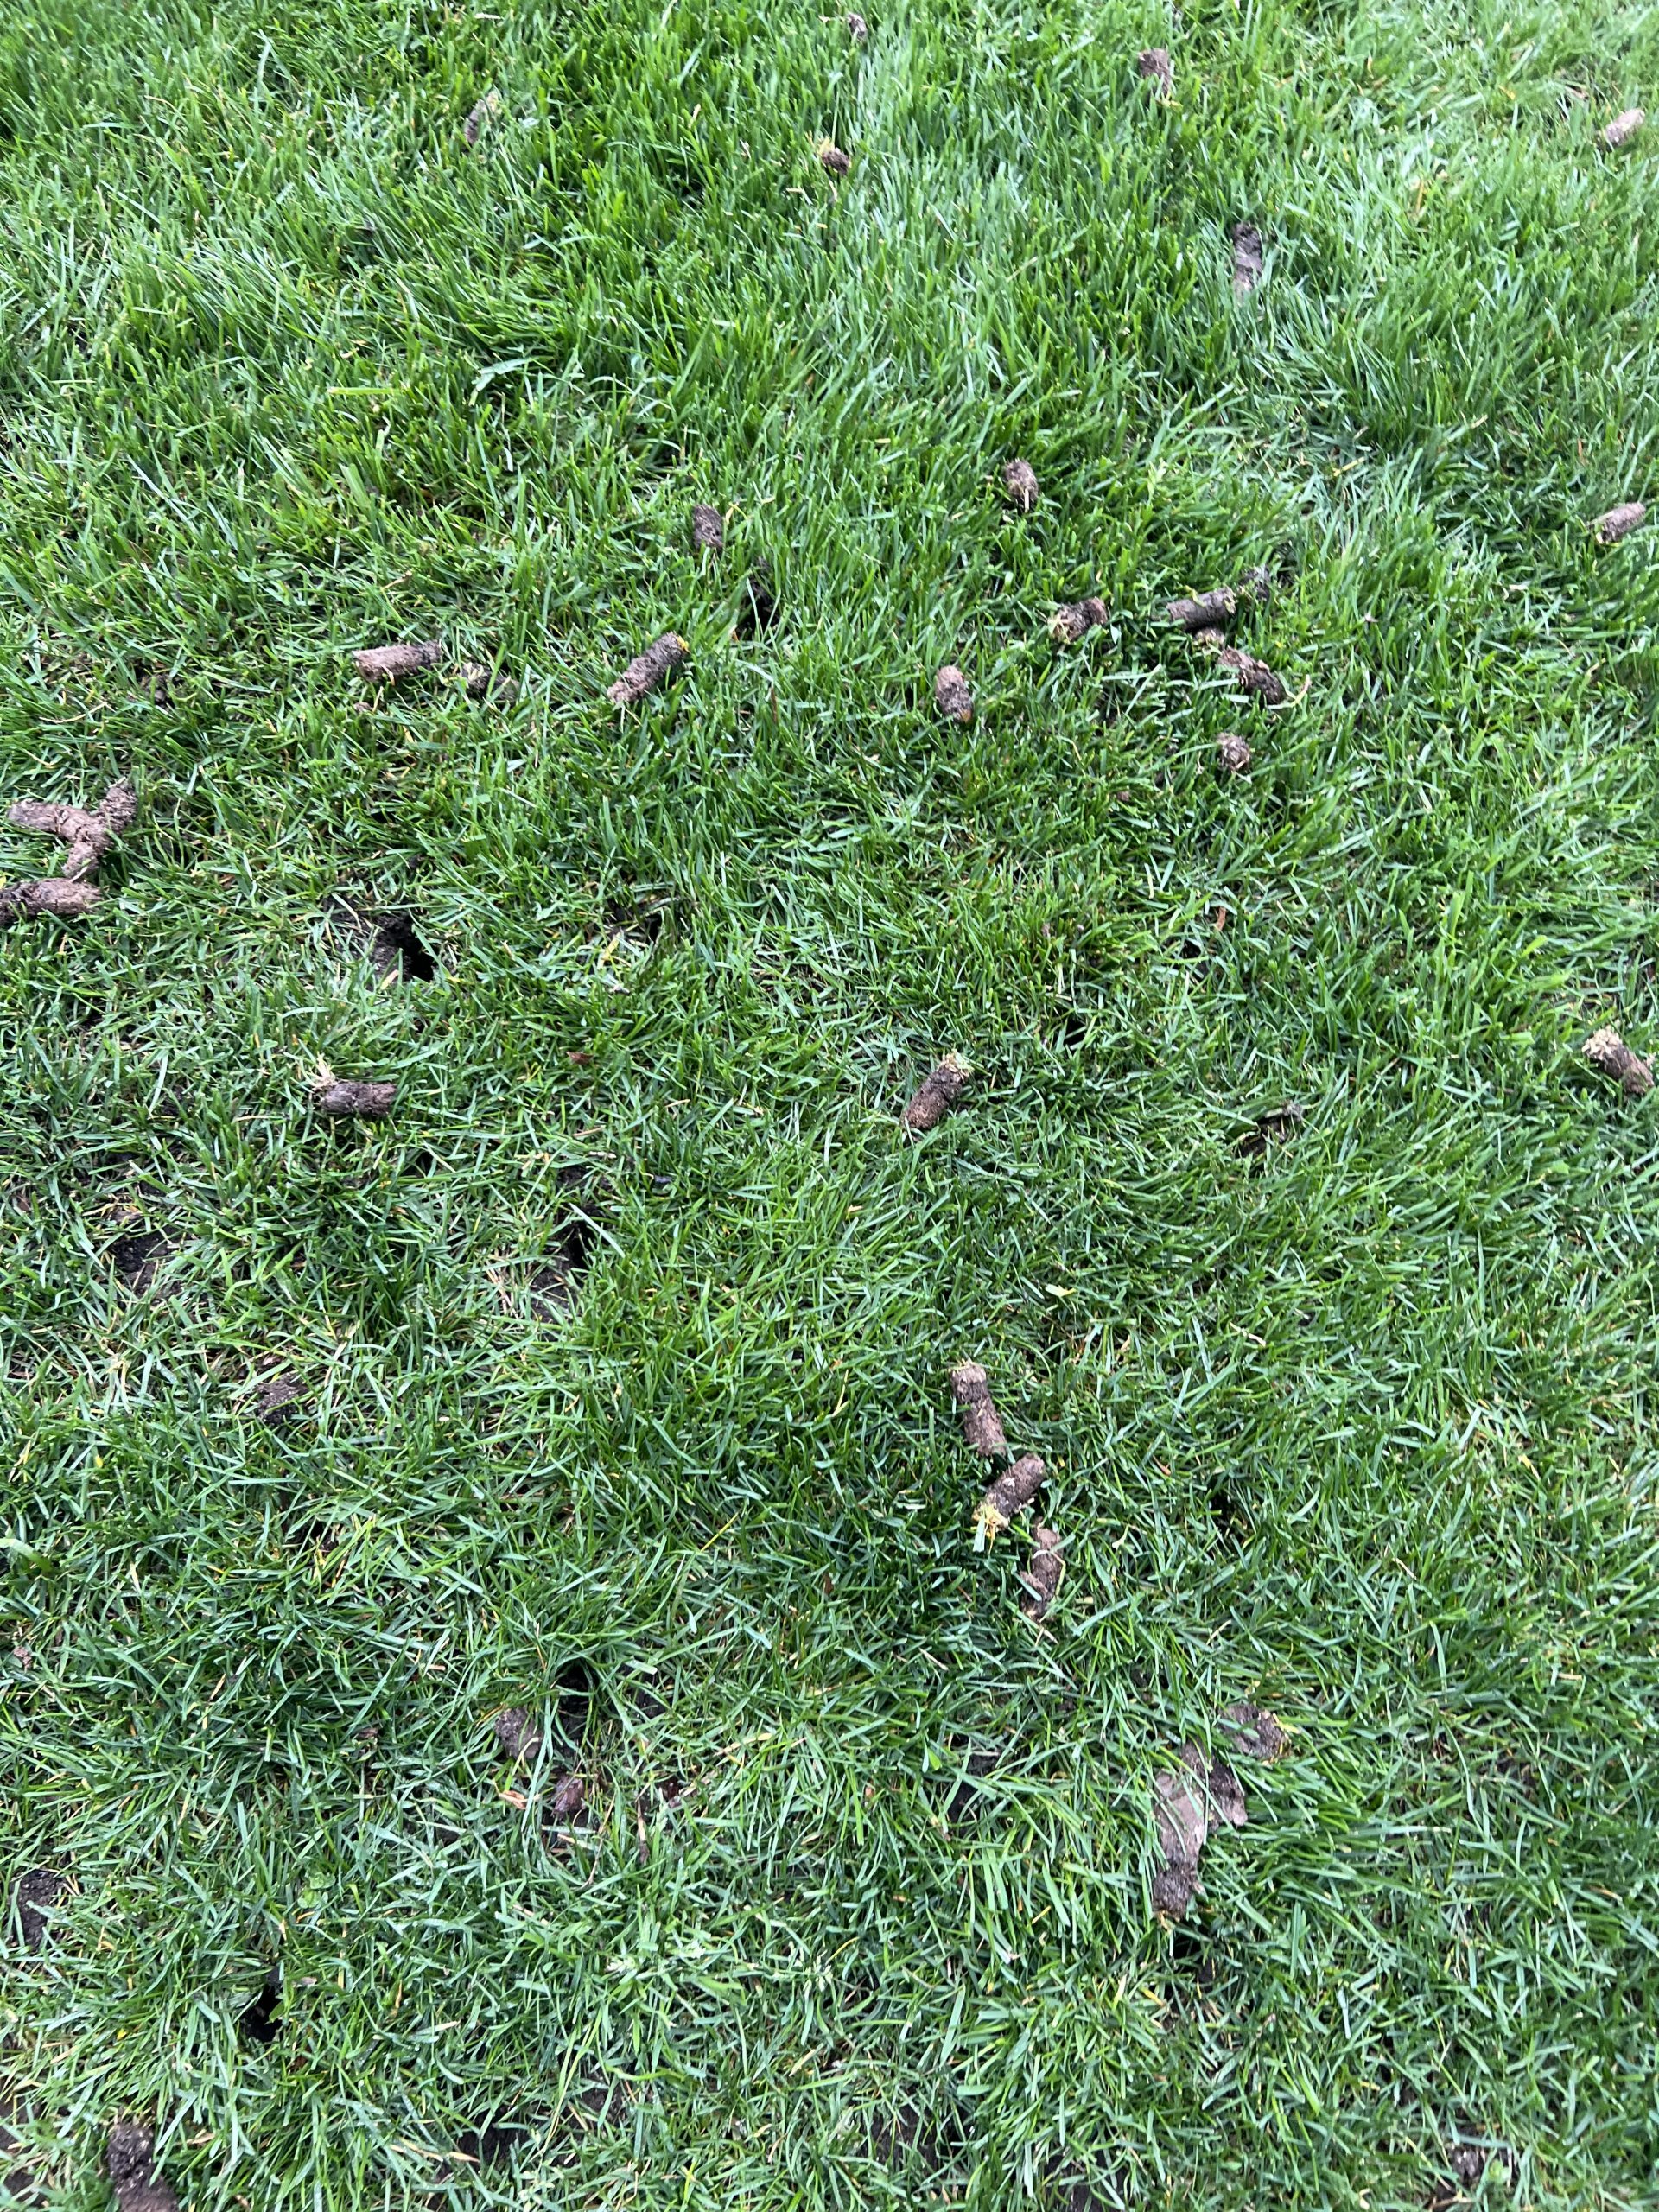
Every lawn in town needs to be aerated from time to time. Aerating a lawn is when small holes are punched in the lawn soil to increase water and air penetration and make roots divide, grow deeply and cause the lawn to stay thick and healthy.

Our Work


From Our Clients
I am impressed!
See The Review
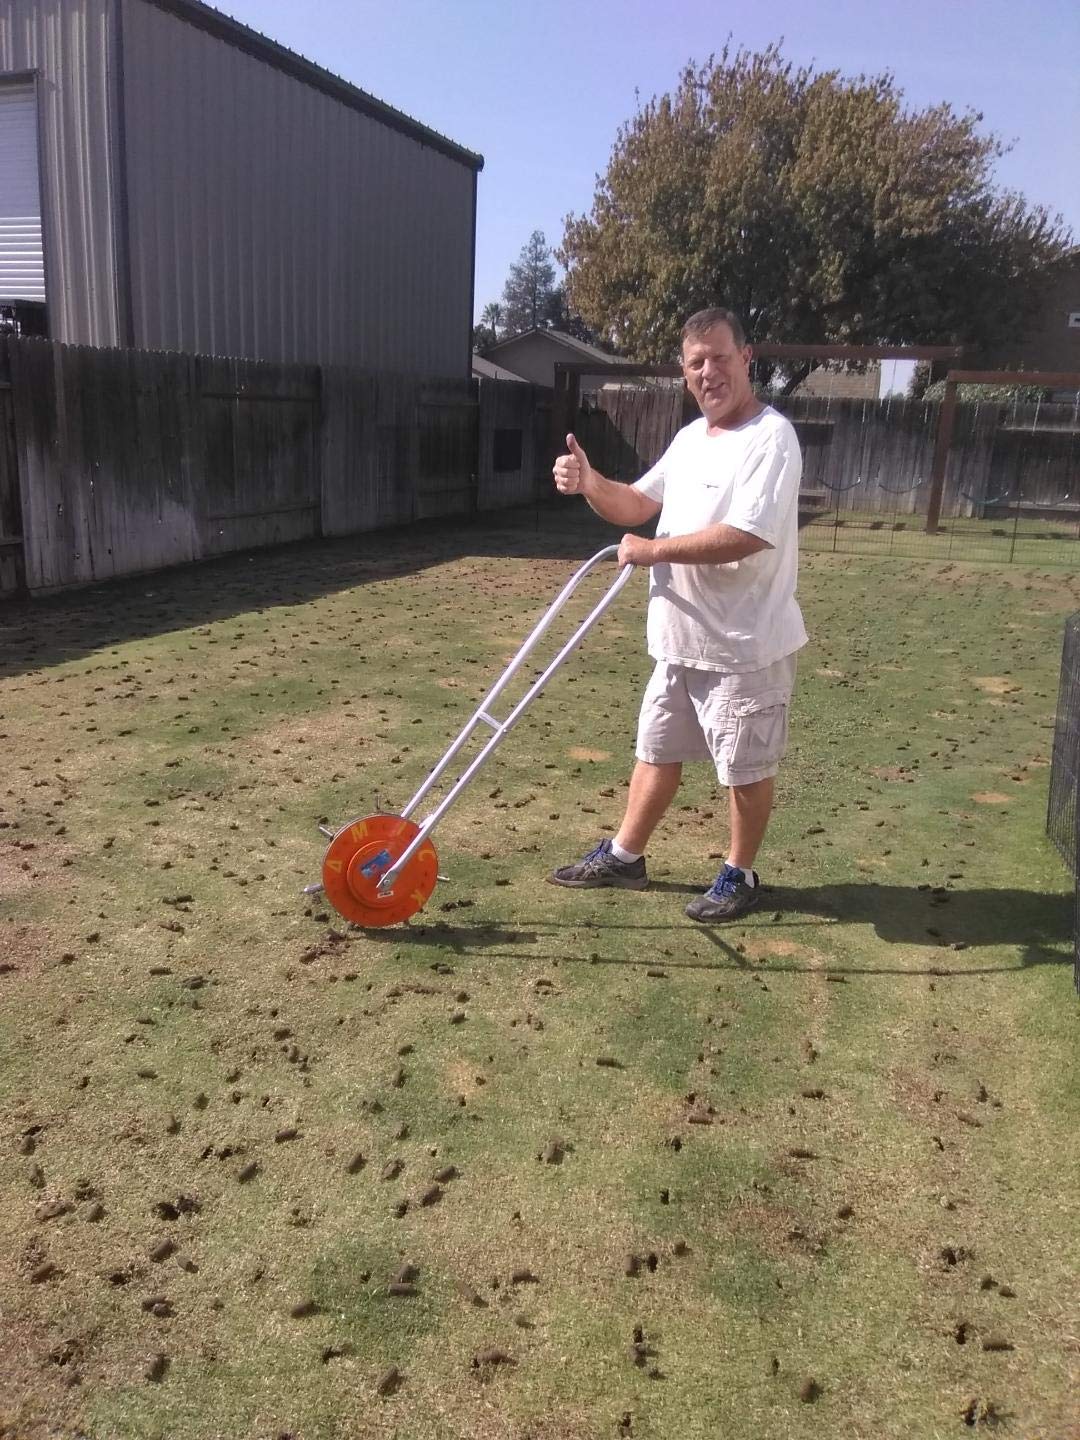
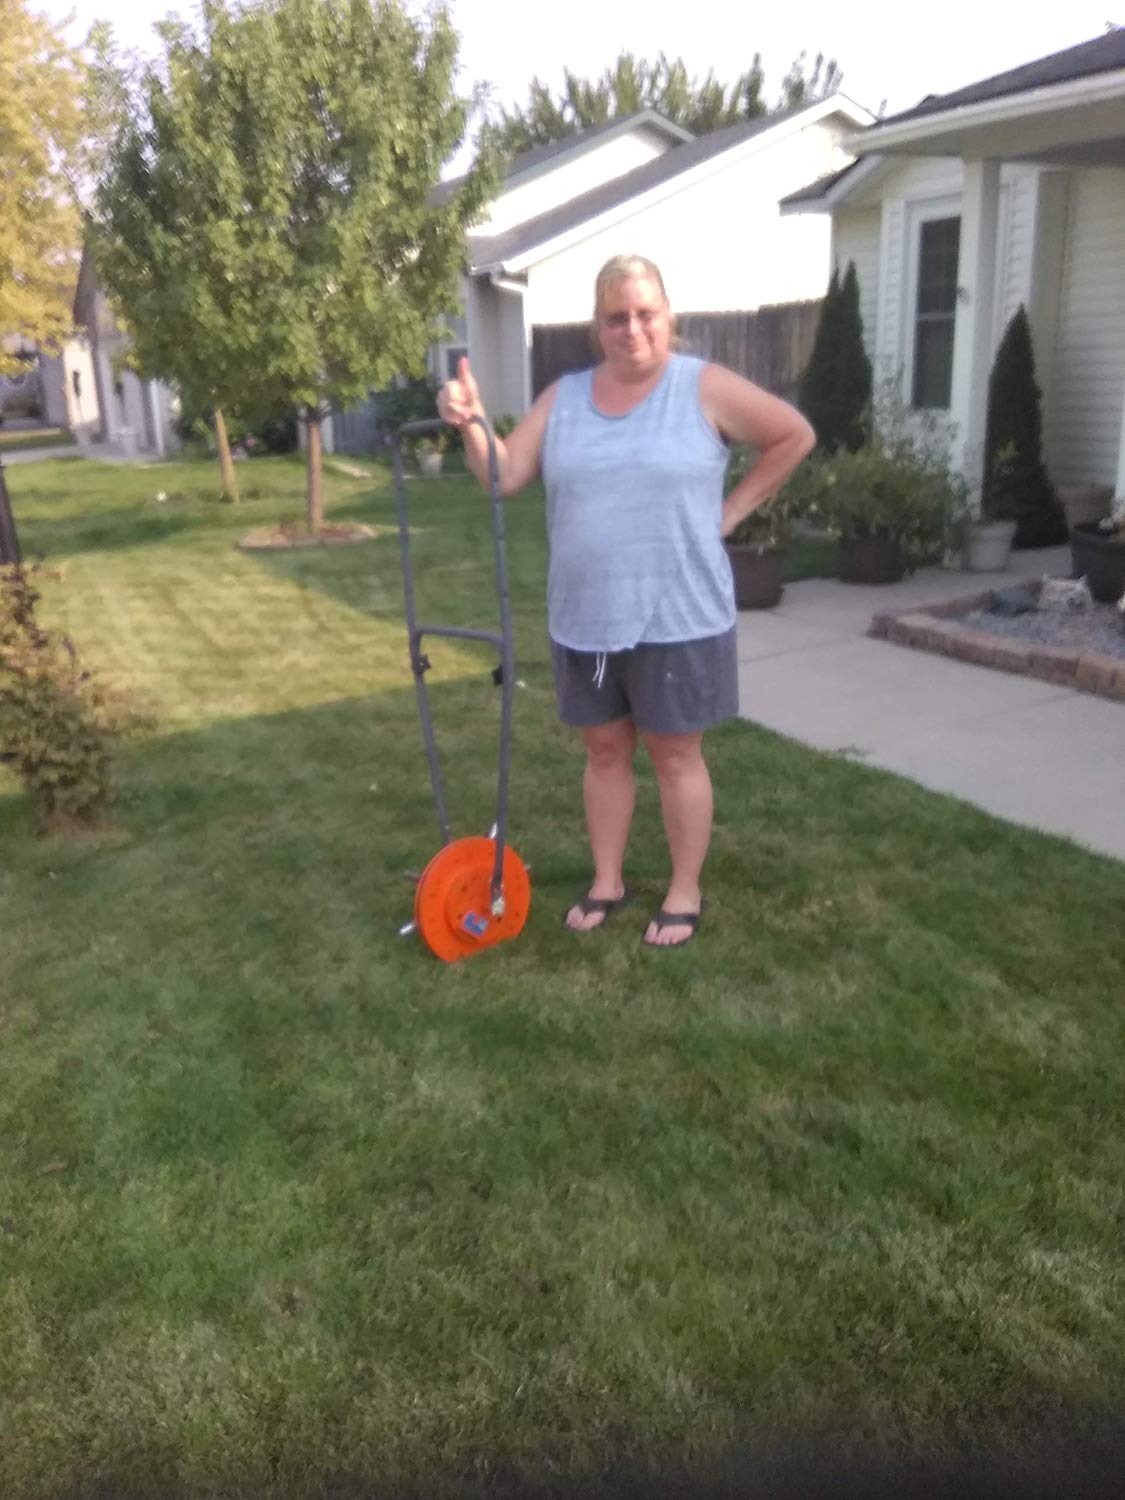
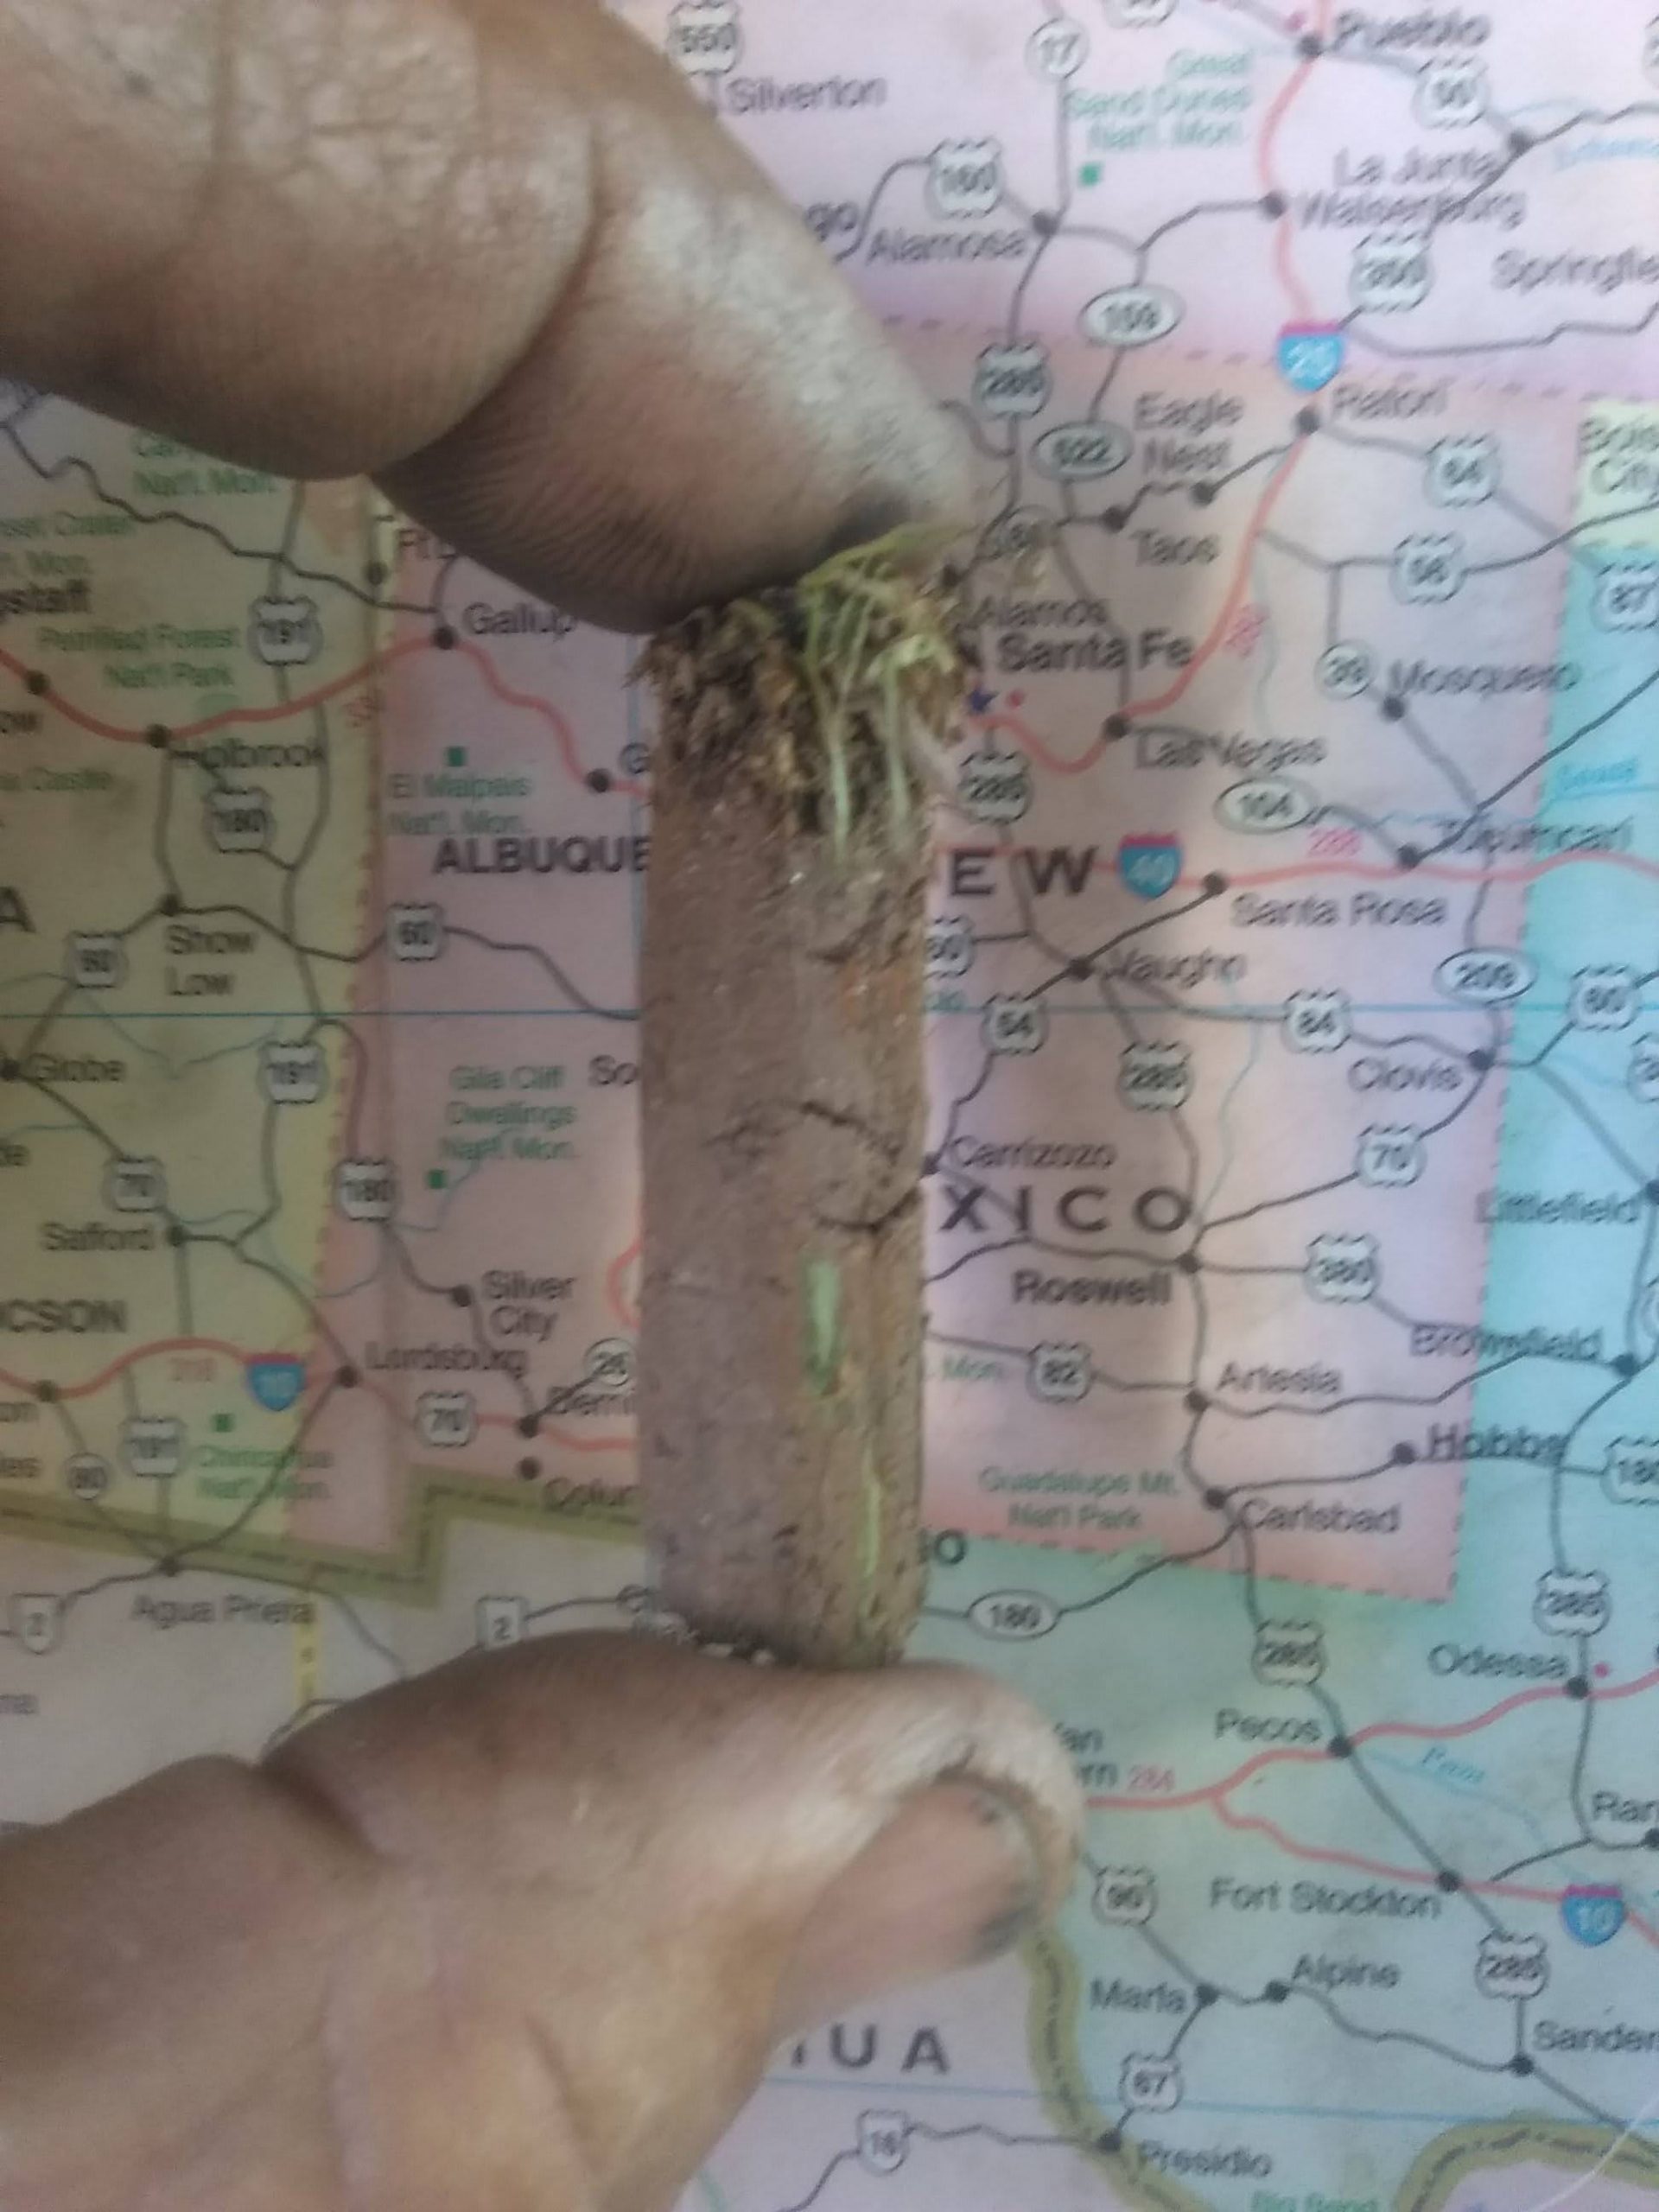
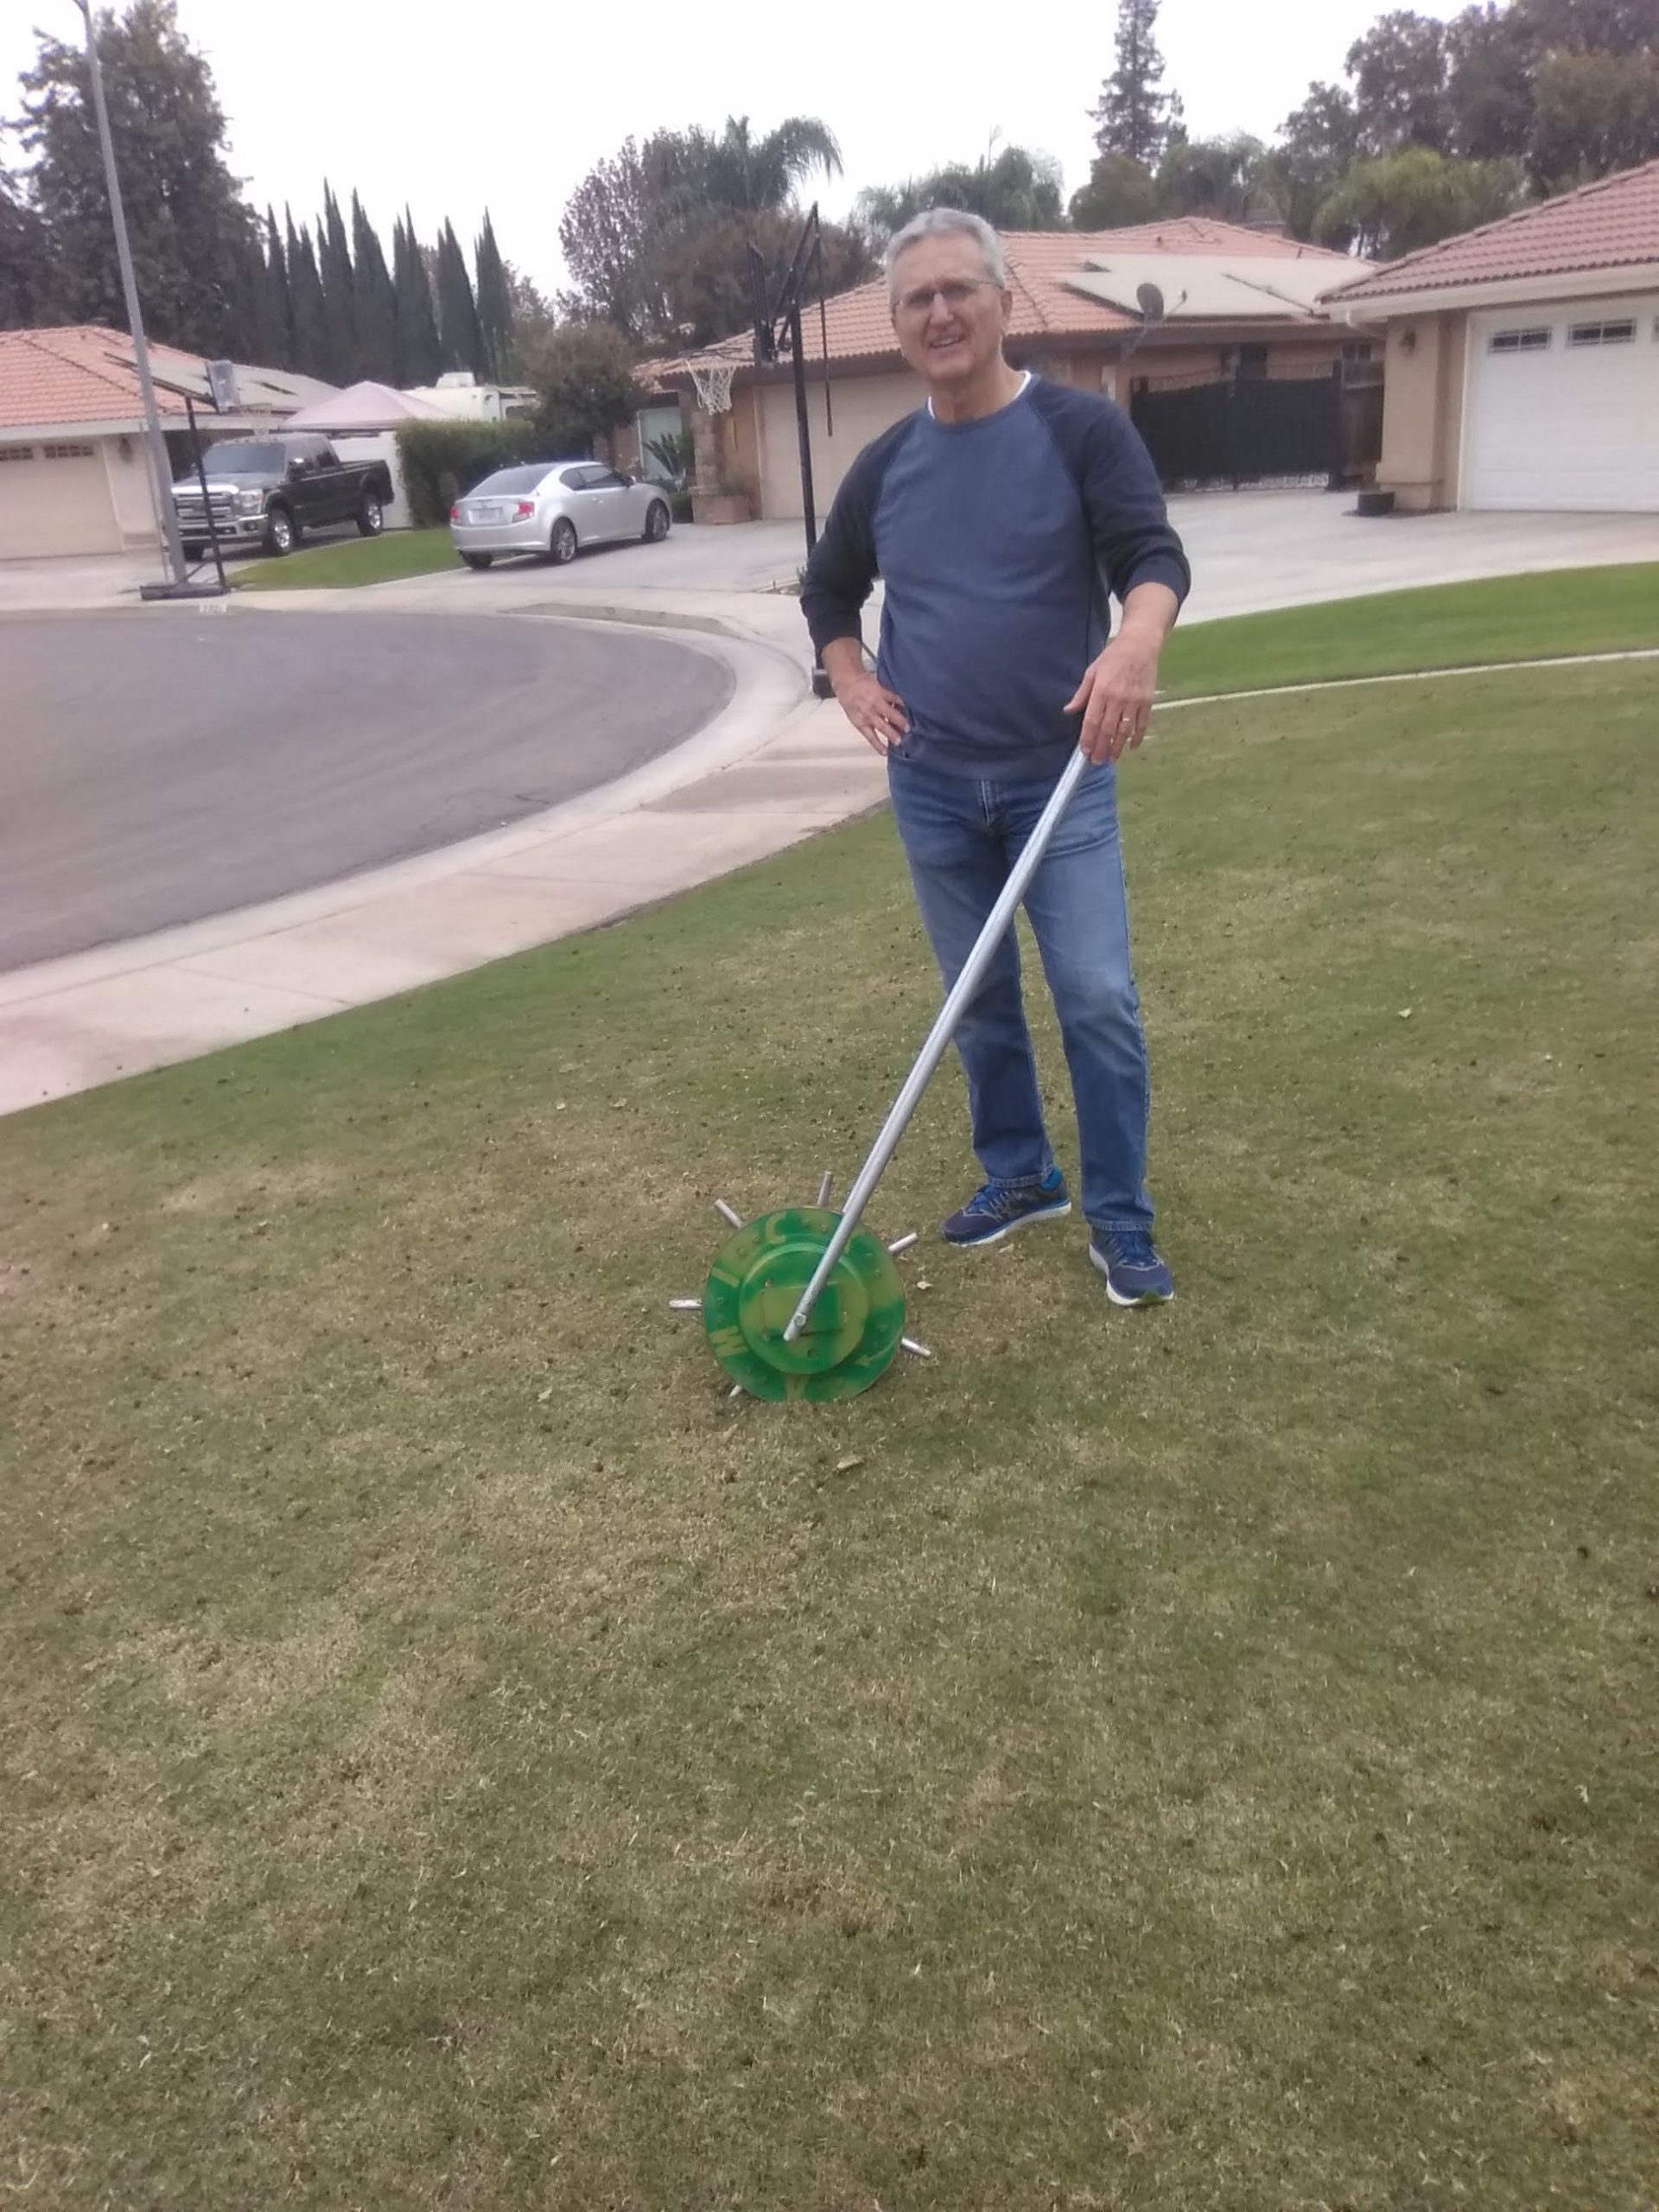
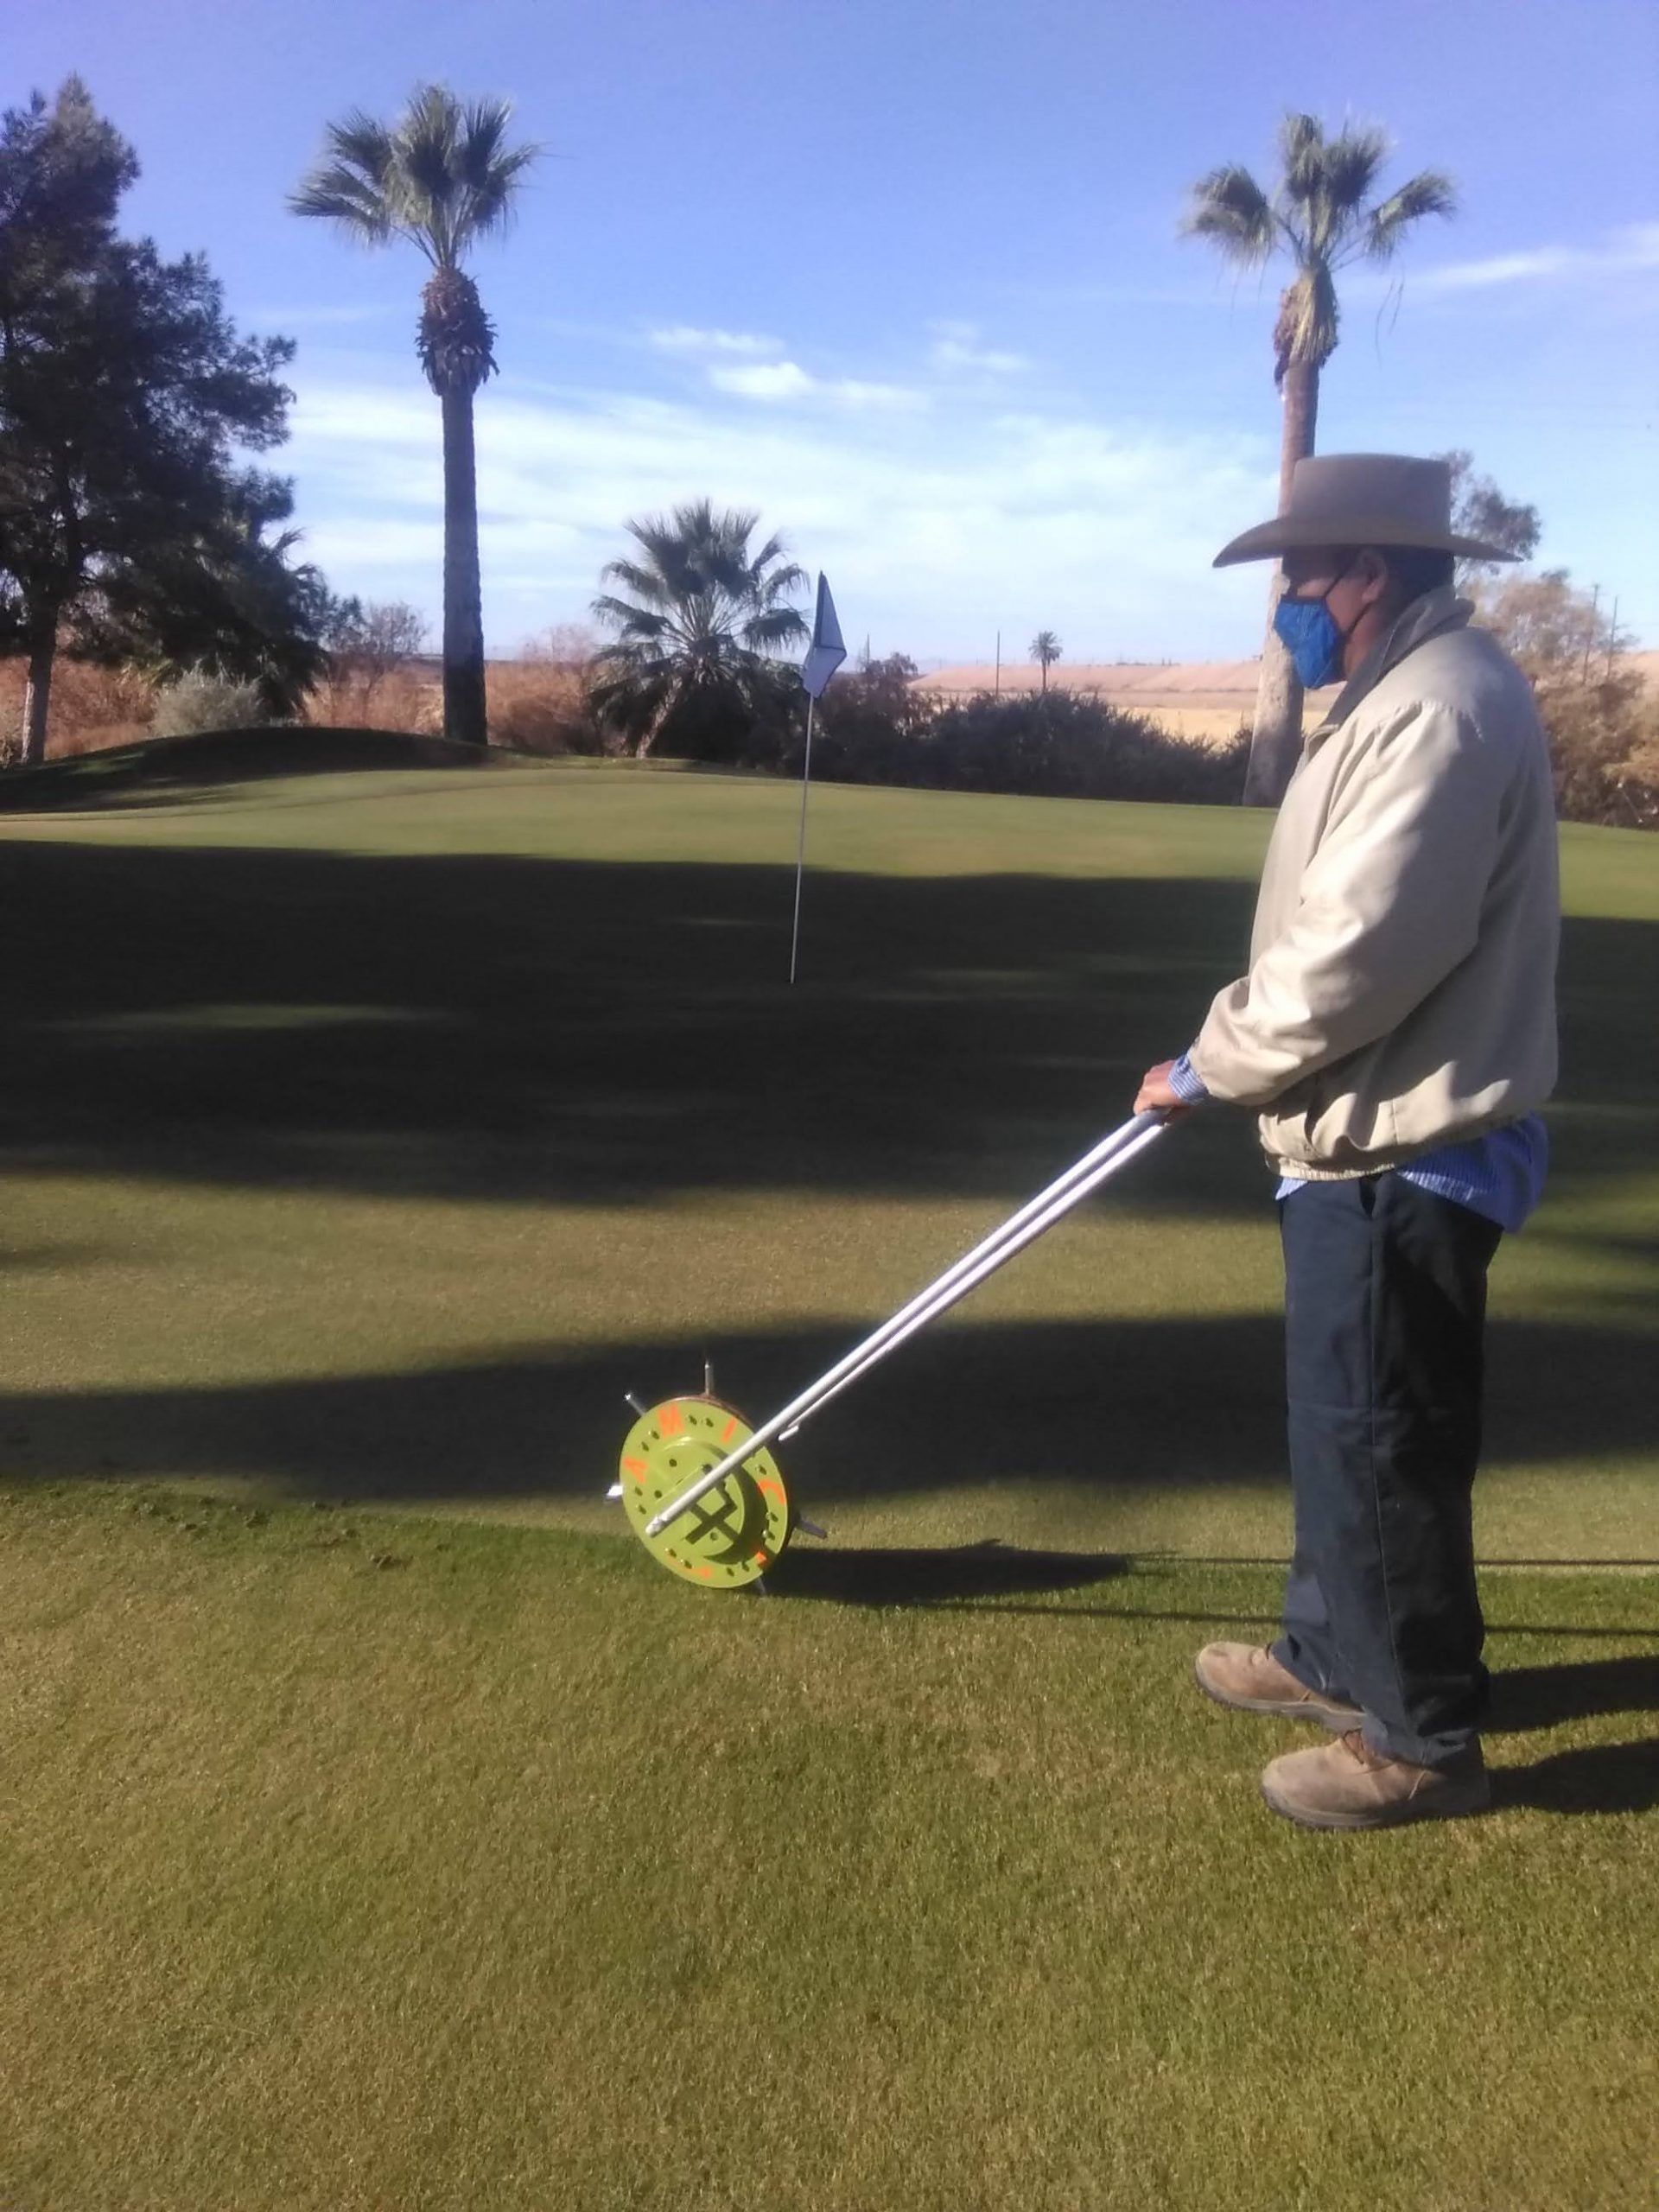
I was skeptical at first, having used those step on aerators that do nothing but plug up. I was worried this would do the same thing. These are hand made out of recycled steel parts and it is heavy. That weight allows the tines to do what they need to do and plunge several inches into the soil. To my surprise, they tines do not clog up. I did my rear lawn, about 5000 square feet in about 25 minutes. My wife even wanted in and did about half herself. Really impressed and glad it’s part of my equipment.
Verified purchase: Yes | Condition: New
Amick Rollaerator
See The Review
My roll aerator arrived, in 2 separate boxes, about 2 weeks after placing the order. The instructions were straight forward, and everything went together as expected. The unit is built like a tank, and should last forever. I was amazed at how well this machine works. It pulled consistent 2″ plugs, without clogging, from my mostly clay soil. The unit is heavy, as it needs to be, so you will get a work out by using it. My yard is about 1/4 acre, with hills, so I just split it up, and aerated over 2 days. I also like that it doesn’t take much room to store it. Great job Mike!
Verified purchase: Yes | Condition: New
Excellent tool for the garden
See The Review
This works perfectly. I have now used it on mine v and my mums lawn and almost covered the cost back compared to paying a company to do it. It is very well made. You will get slightly out of breath using it which I do not mind but it is usable by all healthy people and you can always take your time as I was doing it quickly. A great invention and a wise investment for me. I would definitely recommend getting one. I live in Nottinghamshire England and it was posted to me with no problems. Thank you.
Verified purchase: Yes | Condition: New
